So you want to go backpacking? Now’s the time right? Over the next couple of weeks, I’ll be publishing the Backpacking 101 series that will include all the nitty-gritty stuff you need to know for your first backpacking trip.
I remember my first backpacking trip, I was incredibly unprepared and had no idea what I really needed. I read all the checklists and blog posts but still really wasn’t sure how necessary some things were.
This list of backpacking gear is designed to give you everything you need from the most necessary to the more luxury or fun to have items. It’s also important to keep in mind how long your trip is, the type of terrain, and the area you are going to be in. Not all backpacking trips are created equal and you’ll need to account for that, but the necessities are going to be pretty universal across all kinds of trips. I’ve also included weight guidelines for some items, mostly because you don’t realize how heavy stuff is until you try to put it all on your back, as well as links to all the products I use.
The Necessities


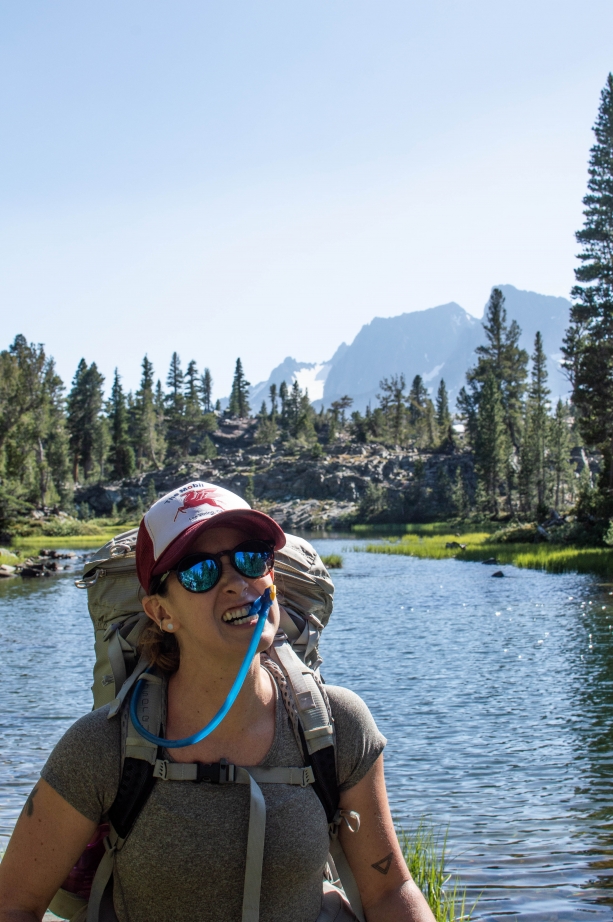
- Backpack: It’s the most important part and you’ll have to fit your whole life into it, so make sure it fits well. I am a big fan of Osprey packs, I have the Aura 50L pack and Rob has the Exos 48L pack.
- Lightweight sleeping bag: I use a child-sized sleeping bag (the REI Radiant 20), mostly because I’m short and they just fit me better. The key thing is that you want your sleeping bag to be about 2lbs or less to make it lightweight.
- Backpacking sleeping pad: The thin egg carton ones are the lightest but also not super comfortable. There are now lightweight inflatable sleeping pads, the risk with those is getting leaks though. Either way, make sure it’s under 1lb.
- Tent: For a two-person backpacking tent we love the REI quarter dome. Ideally, you want your tent under 3lbs if just one person is going to carry it, but you can go up to 5lbs if you and your partner split the weight between your packs. For a one-person tent, we have the Big Agnes Copper Spur which is great at just over 2lbs.
- Trekking poles: You really do want trekking poles, I know they might seem unnecessary but they help with balance on rough terrain and help to take some pressure off your joints on longs days. I have Black Diamond trekking poles and they’ve lasted me the last five years.
- Jetboil & fuel canisters: The Jetboil is the simplest and easiest backpacking cooking system. It only boils water, well technically you can cook food it in but I wouldn’t recommend it. But it boils water in just a couple minutes for you dehydrated meals. The number of fuel canisters you’ll need will depend on the length of your trip. For a three-night four-day solo trip I brought 2 canisters with me, for the same length trip with Rob we brought 3.
- Titanium spork or bamboo utensils: Lightweight utensils are the best which is why I always go for titanium or bamboo.
- Trowel/poop shovel: When nature calls you gotta burry it, the trowels with the inch markers are always nice so you know how deep to dig your hole.
- Water vessel: How you carry and drink your water is totally up to personal preference, I really like having a Camelbak bladder in my backpack so that I always have water easily available. If you are more into having a water bottle that works too, I recommend a plastic Nalgene. Don’t use metal water bottles because they are too heavy. I usually carry both a Camelbak and a water bottle. I use the Nalgene as extra water storage and as a hot water bottle on really cold nights.
- Water filter: Really important for water refills, we have a Sawyer Squeeze which I think is the best system. For a long time, the plastic squeeze bags they came with were prone to breaking. So people started using SmartWater bottles, but on my last trip the bag held up just fine. However, the SmartWater bottle fits pretty perfectly onto the filter and is easy to squeeze water through.
- Headlamp: I remember when headlamp seemed so nerdy and now they are totally normal in your camping kit. There are really fancy headlamps out there like the Black Diamond Revolt which Rob has, or there are more simple ones like the Energizer Headlamp which I have.
- Map: It’s always good to know where you’re going. I like National Geographic maps because they are water and rip-proof.
- First aid kit: Accidents and blister happen so having a first aid kit is absolutely necessary.
- Duct Tape: I’m not sure why, but I always need duct tape when I’m backpacking. On my last trip, my boot came apart and I duct-taped the sole back on for the last two days of the hike. I tell ya, it comes in handy. The thing is, don’t bring the whole roll, I wrap a bunch around one of my trekking poles and use that as a small roll.
- Zip Lock bags: I use large Zip Locks for my trash, regular trash bags are too big and bulky. Plus the zip on it keeps anything gross from leaking out.
Location Dependent Necessities


- Bear canisters: If you are going to be backpacking in bear country you do need a bear canister, it’ll keep you and the bears safe. A small one works well for one person for about 4-5 days, for two people or a longer trip you will want a large canister.
- Poop bags: If you are going to be backpacking through slot canyons or rivers, or on granite peaks (like Mount Whitney) you have to pack everything out. Yep, even your poop, so poop bags are necessary. They have a whole system in them so they don’t get gross or stinky so don’t freak out too much.
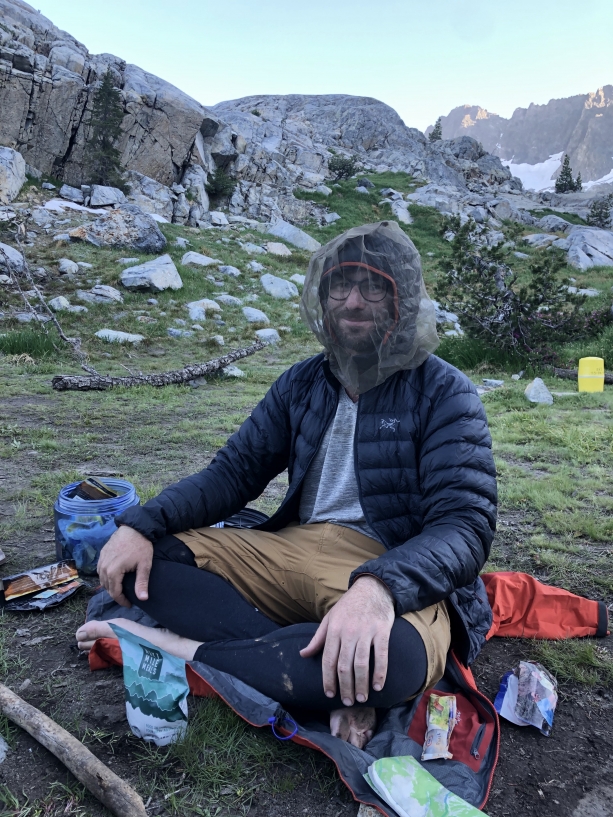
- Mosquito net: Depending on the season and the terrain mosquitoes can be an unbearable pest. Mosquito nets may not look super cute but they are really effective at keeping the bugs off you.
Extras that are a good idea


- Extra batteries: It’s a bummer if your headlamp dies, but also not usually the end of the world so if you have room in a pocket throw some extra batteries in there.
- Matches or lighter: If fires are allowed where you are hiking it is really nice to be able to have a campfire at night, so either matches or a lighter are a good call.
- Pocket knife: I always carry my pocket knife with me in my backpack, I very rarely use it but it comes in handy for cutting duct tape or rope, or difficult to open food packages.
- Multitool: Some times things break or your headlap requires a screwdriver to open it and change the batteries, you just never know, and a multitool can be a lifesaver.
- Rope: You probably don’t need a ton of rope but a small bunch is always good for tying down a tent or stringing up wet clothes.
- Quick-dry towel: Jumping in a chilly alpine lake is always fun, but being able to dry off is nice too, quick-dry towels are lightweight and dry quickly (uh duh).
- Iodine tablets: If anything happens to your water filter you will need iodine tablets to purify your drinking water. It’ll taste gross but at least you won’t get sick.
- Compass: Compasses are good for figuring out directions especially in conjunction with your map.
- Lightweight bowl or plate: Some people are civilized and like eating their food out of a plate or a bowl. Honestly, I usually just eat straight out of the bag it came in or off my backpack, but I’m just a wild kid at heart.
- Coffee cup: If you like coffee or tea or any hot beverage having a nice insulated coffee cup is really nice in the mornings.
- GPS: GPS can be useful for complicated trails and is really nice if you are nervous about getting lost because you always know exactly where you are.
- Carabiner: Carabiners are good for hooking stuff to the outside of your backpack. I usually use one to clip my camp sandals to my pack.
Luxuries


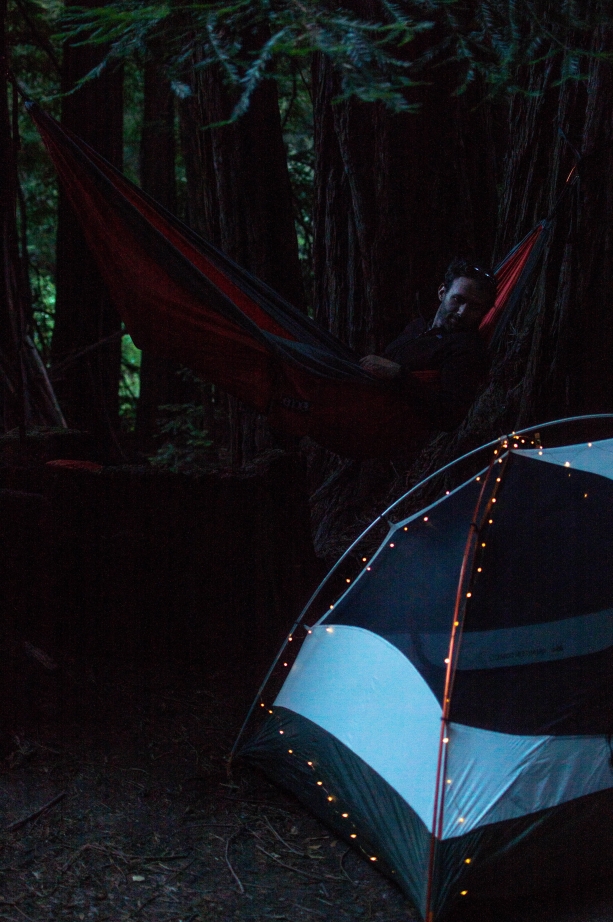
- Hammock: If you have room in your pack and you are hiking through areas that have trees, a hammock feels so luxurious when you set up camp and are just chilling out.
- Seat pad: It’s like a mini version of the egg carton sleeping pad. Having a seat pad also just adds a little more comfort to your camp time.
- Twinkle lights: A string of solar-powered twinkle lights adds a little ambiance to your campsite. They can also be useful if you get up to pee in the middle of the night for finding your way back to your tent.
- Kula Cloth: I just learned about Kula Cloths recently and I can’t believe I’d never heard of them before. It is an antimicrobial, well, uhh, pee cloth. Drip dry no more!
- Solar panel: If you need to charge anything like your phone, GPS, or camera, having a solar panel can be really useful. These kinds of solar panels are only good for charging things off a USB though, so it’s not going to charge a DSLR batter or anything.
- Camera: I always take my camera with me, I’m so thankful for it when I’m somewhere beautiful in the backcountry. But you don’t need a heavy DSLR to capture awesome moments, a GoPro, or even your camera phone works great.
- Tripod: If you want to do any night time photography with a DSLR you’ll want a tripod although I have definitely just wedged my camera into some rocks to keep it steady. A tripod is also good for getting a group shot if no one else is around.
You can download a printable check list with all the items on it here: Gear Check List
Or you can download a google spreadsheet of all the gear here: Gear Spreadsheet
So when all is said and done everything has to fit in or on your backpack and you should be able to carry it. The general rule of thumb is that your pack should weigh no more than 20% of your body weight. And remember this is just your gear, you will still need to pack food and clothes into your pack.
I’ll be covering food, clothes, and how to pack your backpack in the coming weeks so check back soon!
READ MORE:
Backpacking 101: Planning
Backpacking 101: Clothes
Backpacking 101: Food
Backpacking 101: Packing Your Backpack
Backpacking 101: All My Secrets
Backpacking 101: Training
Like this post? Pin it!


Pingback: Backpacking the Lost Coast Trail - Nattie on the Road
Pingback: Hiking the Skyline to Sea Trail - Nattie on the Road
Pingback: Backpacking 101: Clothes - Nattie on the Road
Pingback: Backpacking 101: Food - Nattie on the Road
Pingback: Backpacking 101: Packing Your Backpack - Nattie on the Road
Pingback: Backpacking 101: Planning - Nattie on the Road
Pingback: Backpacking 101: All My Secrets - Nattie on the Road
Pingback: Backpacking 101: Training - Nattie on the Road
Pingback: Backpacking Onion Valley to Mount Whitney - Nattie on the Road